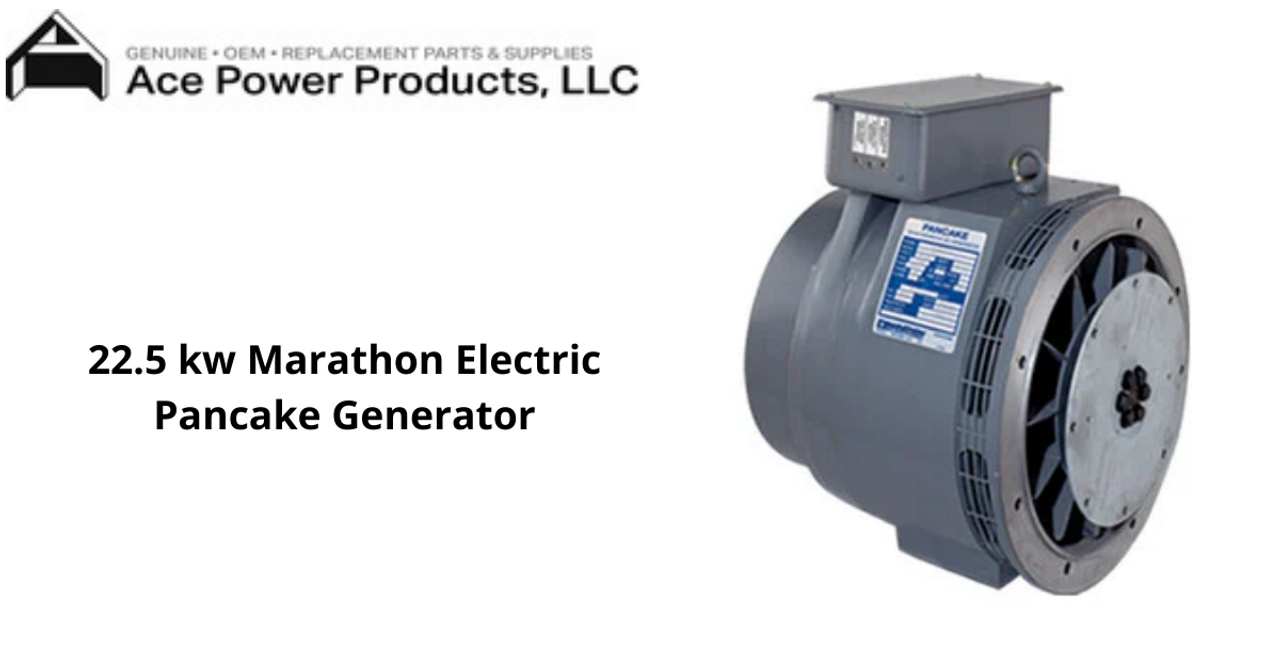
Pancake generators are small and compact; as single-phase generators, they are commonly used nowadays. The design has proved to be one of the most reliable single-phase 60 Hertz AC generators out there.
Normally, single-phase generators consist of six components. The components include the exciter stator, a voltage regulator, a rectifier assembly, some exciter rotor windings, the main stator, and some main rotor windings as well. The algorithm of this pancake generator is quite simple.
But if you still face pancake generator troubleshooting, means that the generator is giving less or almost no output. In such cases, a few steps can help you find out and fix the problem with your pancake generator. So let’s check out the steps and find the issues.
Note: Before attempting to troubleshoot your pancake generator, please make sure that it’s not turned on or outputting any electricity.
Check Exciter Stator Winding Resistance
The first thing you are going to check is the exciter stator. Start by checking continuity between F+ and F- by using a digital multimeter. If you have no continuity between F+ and F- or the continuity is less than 5 Ohms, you have a failed exciter stator winding.
And sadly, failed exciter stator windings cannot be fixed; they have to be replaced. Make sure you check the continuity with the gen-set shutdown.
Constant Excitation Test
To perform a constant excitation test with your single-phase generators, the first thing you have to do is to disconnect F1 and F2 from the voltage regulator and connect it with a 12V battery. Next, switch off all the breakers and start the gen-set battery.
- If the voltage lies between 216-252 or 108-126, your voltage regulator has failed and has to replace it.
- If the voltages are greater or equal to 100 or 200, then one or more diodes have failed, and you have to replace them.
- And if you see unbalanced voltages, then the main stator has failed, and you have to replace the generator.
Main Stator Winding
To check the main stator winding for your pancake generator troubleshooting, you must set the meter at very low resistance. Connect one side to T1 and the other side to T3. If you have very low or high resistance, your main stator windings have failed and they cannot be repaired, so you have to replace the generator.
Note: The resistance reading should be between 1 to 5 Ohms.
Checking Diodes
You can check the diodes of your single-phase generators with an analog meter. You can place one lead on the top of the diode and the other one on the corresponding main terminal post. Then, test all the diodes one by one. If the diode has a resistance under 100 Ohms, it means the diode is good to go.
If you see the resistance is very low or very high, then you can always replace the diodes.
